Key Takeaways:
- Quick-attach your pump head to Presta or Schrader valves in under 5 seconds
- Ideal PSI ranges: road (85–110 psi), hybrid (50–70 psi), mountain (~25 psi)
- Human pressure-gauge trick: memorize the feel of properly inflated tires by thumb test
How to use a bike pump correctly is a must-know skill for every cyclist who wants a safe, smooth ride—whether you’re commuting downtown or hitting the trails.
Pumping up a bike tire is pretty basic, but it’s one of the most necessary skills to acquire to ensure a safe and smooth ride. It might seem like a simple task, but there’s a right way to pump your tire!
Correctly pumping your tires will lead to a comfortable, safe, and efficient ride.
Need a Few Practical Extras for Your Next Ride?
Browse cycling-related clothing and simple bike accessories that may help with comfort, visibility, storage, or everyday riding.
Paid links. As an Amazon Associate we earn from qualifying purchases.
If you just got into the sport of cycling, or just need a refresher on how to properly pump your tires, read on and we’ll guide you step by step on how to do it.
We’re also gonna share a few relevant information about pumping your best commuter bike tires.
📌Riding with the wrong PSI can lead to flats or poor handling. Check your numbers with our tire pressure calculator before your next ride.

Learn the Different Types of Pump
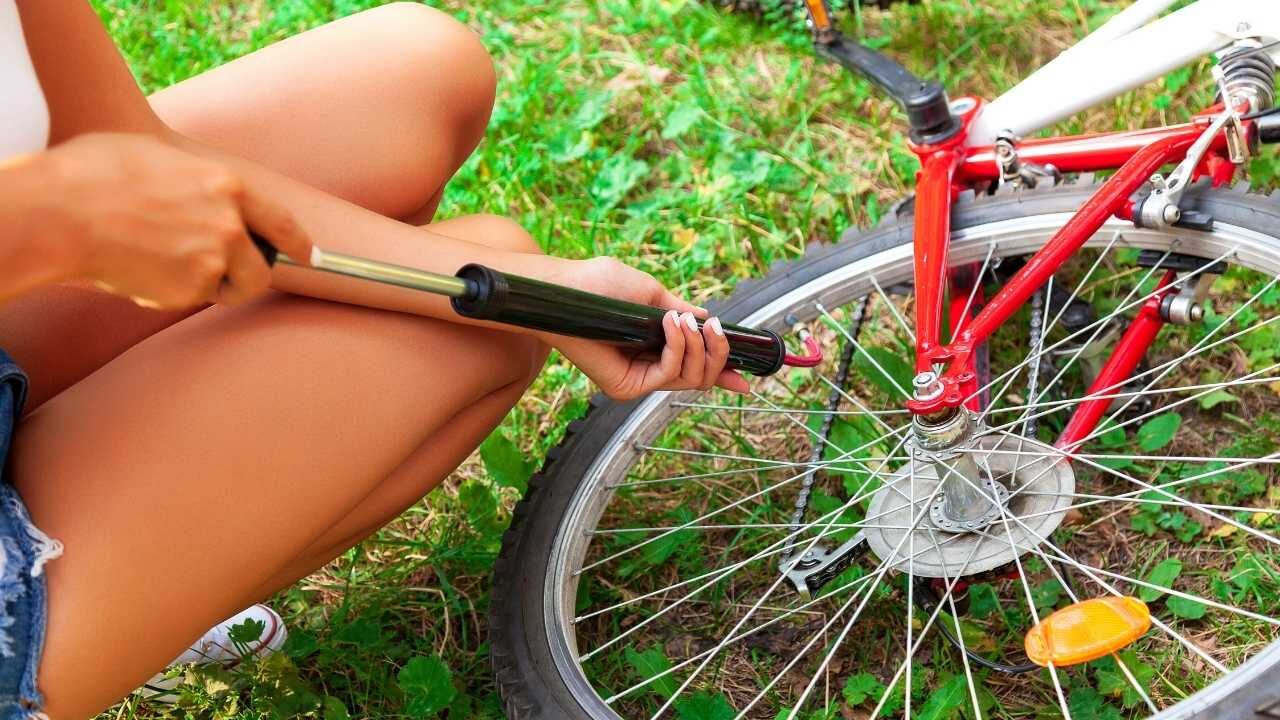
The first thing you’re gonna need is a bike pump. There are a few different types of pumps that you can use depending on the type of valve, pump size, and preference.
Some commonly used pumps today are floor pumps, hand pumps, stand pumps, CO2 Inflators, and frame pumps.
Statistics and Facts on How to Use a Bike Pump
- Floor pumps can typically reach pressures of up to 160 psi with fewer than 60 strokes.
- Hand and frame pumps require an average of 120–200 strokes to reach 80 psi on a road tire.
- CO₂ cartridges can inflate a 700x25c tire from 0 to 80 psi in under 5 seconds but only provide one full inflation per cartridge.



Common Types of Bike Valves
There are several types of bike pumps: floor pumps, hand pumps, frame pumps, ultra mini-pumps, and CO₂ cartridges. Each type has unique advantages and is suited for different scenarios. For example, floor pumps are ideal for home use and can reach higher pressures with less effort, while hand and frame pumps are portable and useful for roadside repairs.
Compatibility with valve types is critical. The two main valve types are Presta (narrow, tall) and Schrader (wider, similar to car tire valves). Using a pump compatible with your valve type, or an appropriate adapter, is essential to avoid damaging the valve or tire.

The kind of valve that you have will determine which type of pump you should use. A Schrader valve requires a pump with a wider opening, while a Presta valve will need a narrow opening, although there are pumps that can both serve a Presta and a Schrader valve.
If you have a Schrader bike pump, buy a special adapter so you can use it on your Presta valve.
If you’re still unsure which type of bike pump to buy, ask your local bike shop for recommendations.

Step-by-Step Process for Using a Bike Pump
Research and expert guides consistently outline the following steps for effective and safe use of a bike pump:
- Select the Correct Pump: Choose a pump compatible with your bike’s valve (Presta or Schrader).
- Remove the Valve Cap: Unscrew and set aside the dust cap from the valve.
- Open the Valve: For Presta valves, unscrew the small brass cap; Schrader valves are ready once the cap is off.
- Attach the Pump Head: Securely attach the pump head to the valve. Ensure a tight seal to prevent air leaks.
- Stabilize the Pump and Bike: For floor pumps, place your feet on the base; for hand pumps, hold the pump and valve securely with both hands to avoid bending or breaking the valve stem.
- Inflate to Recommended Pressure: Pump air until the tire reaches the manufacturer’s recommended pressure, usually marked on the tire sidewall. Over-inflation or under-inflation can lead to poor performance or tire damage.
- Detach the Pump Head: Carefully remove the pump head to avoid damaging the valve.
- Close the Valve and Replace Cap: For Presta valves, screw the brass cap closed; for Schrader, simply replace the dust cap.
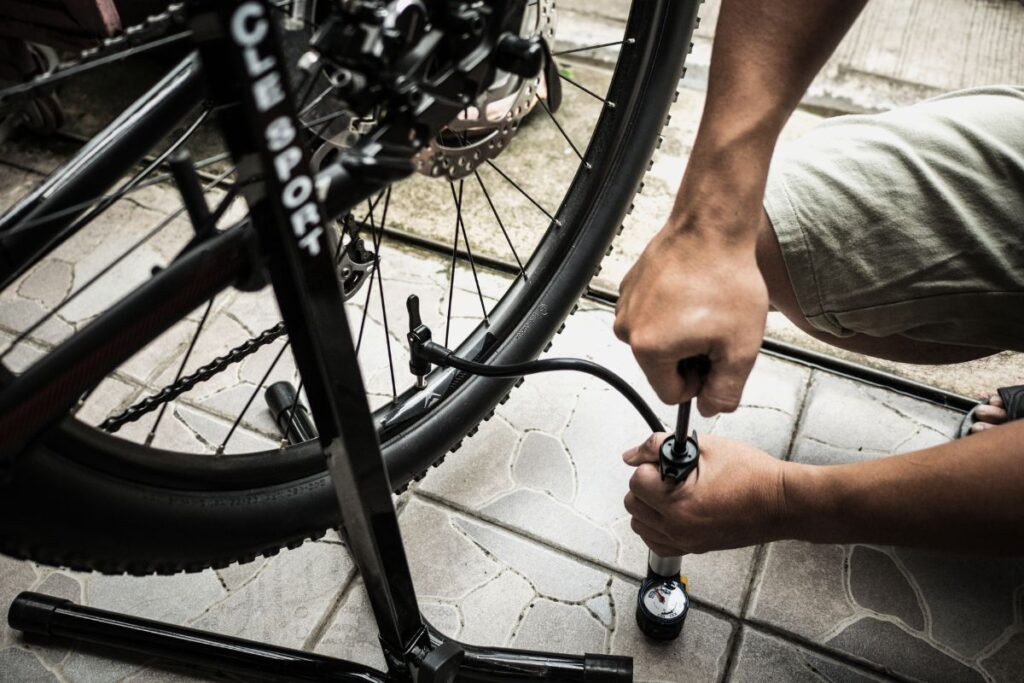
Inflating Your Tires
Step 1: Valve Preparation
Remove the dust caps on your valves (Don’t worry if you don’t have them because dust caps usually get lost). Doing this will not suddenly let the air out so don’t be shy and just unscrew it.
For a Presta Valve, you have to unscrew the lock ring at the top before you can inflate or deflate your tires. Once you’re done unscrewing it, press it in to allow a bit of air out.
Step 2: Securely Attach the Pump
Step two is to fit the head of the pump onto the valve. Pumps are either screwed on or levered depending on the type of pump you have.
If your pump is screwed on then there should be a thread inside the pump head, whereas when it’s a lever then there should be a lever to be flipped.
When pushing in the pump head, you may need a little bit of pressure by pushing on the tire and the pump head.
You may let a little bit of air out when you press it on, don’t worry because it’s perfectly normal.
Step 3: Tire Pressure
Before you pump your tires, know what tire pressure you should be running on your bike. Recommended tire pressures are typically embossed on your tire’s sidewall.
Your tire pressure may also depend on several different factors like the width of tire and rim, rider’s weight, terrain intending to ride, riding style, and as well as weather conditions.
Mountain bikes might have about 25 psi in them, while road bikes will have between 85 to 110 psi. Hybrid bikes will have 50 to 70 psi. Tire brands such as Pirelli have some useful charts available online which helps you determine what is the best pressure for you.
Step 4: Pumping
With the pump head securely attached to the valve, you can now start pumping.
Continue pumping until you get your desired tire pressure while using the pump gauge to guide you. Aim to go somewhere in between the maximum and minimum tire pressure.
Step 5: Screw-In Valve
You’re almost done! The last thing you have to do is to carefully remove the head of the pump from the valve. Now, you might hear a little bit of air, but again don’t worry because it’s the air escaping from the pump and not the tire.
Finally, remember to screw the lock ring back in if (you’re using a Presta valve) and replace the dust cap so that air doesn’t leak out as you ride along.

Struggling to Get Air Into the Tire?
Make sure to fit the pump securely to the valve to avoid air from hissing out. But if you’re still struggling to let some air in, then try removing the pump head and deal with the valve instead.
In this case, the valve is most likely stuck, and all you have to do is press on the tip of the valve to loosen it up before reattaching the pump head.
How to Pump Without a Pressure Gauge?
No pressure gauge? No worries, you can be a human pressure gauge! You can manually measure your tire pressure by using your thumb.
A simple trick to master this technique is to pop up your tire first using a pressure gauge, then feel what your normal tire pressure is like so that when you’re out on a ride and suddenly get a flat, you can merely feel with your thumb to estimate your tire pressure.
This technique is especially useful if you’re bringing a pump without a pressure gauge (hand pumps) during a ride.
How Frequently Should You Pump Your Tires?
When you’re using your bike regularly, then it’s expected that it’ll eventually lose pressure.
There’s no rule as to how often you should pump your tires, but you should check them regularly before and after a ride.
Avoid Bad PSI
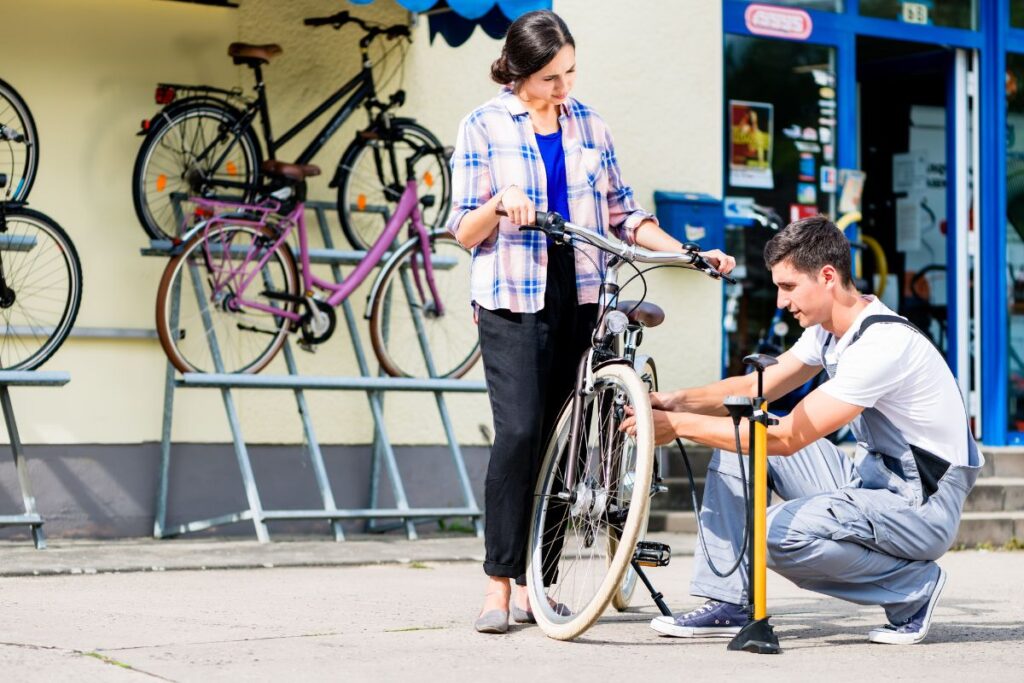
Not pumping in enough air, will cause you to get punctures all the time!
When the tire lacks air, it can deform when it hits an object on the road (or mountain), and then it compresses the inner tube against the wheel rim.
Understanding the Recommended Tire Pressure for Different Terrains
Different terrains demand different tire pressures. Riding on a smooth road? You might want a firmer tire for speed and efficiency. Heading off-road or onto a gravel path? A slightly softer tire can provide better grip and absorb some of the bumps. Most tires have a recommended PSI (pounds per square inch) range printed on their sidewall.
However, these are just guidelines. It’s essential to adjust within that range based on your weight, riding style, and the terrain you’re tackling. If you’re unsure, start in the middle of the recommended range and adjust from there based on your ride’s feel.
Read also:
- Tire Pressure for Hybrid Bike (Easy & Quick Guide)
- Mountain Bike Tire Pressure: Everything You Need to Know
Summary: How to Ensure You’re Using the Right Pressure for Your Bike Tires
| Step | Action |
|---|---|
| Check sidewall | Find recommended PSI range |
| Use a gauge | Measure pressure accurately |
| Start in the middle | Begin with mid-range PSI |
| Adjust for weight & terrain | Heavier = higher PSI; rougher terrain = lower PSI |
| Front vs. rear | Rear tire usually needs higher PSI |
| Fine-tune by feel | Test ride, then adjust as needed |
| Use calculators | For tailored recommendations |
Best Practices and Safety Tips
Using a bike pump is straightforward, but there are still some safety precautions to keep in mind:
- Know Your Valve: Before you start pumping, ensure you’re using the correct pump head for your valve type (Presta or Schrader). Using the wrong head can damage the valve.
- Check for Damage: Before attaching the pump, inspect the valve for any damage or debris. A damaged valve can lead to inaccurate pressure readings or even a blown tire.
- Steady Position: When using a floor pump, place it on a flat surface and hold it steady with your feet. This prevents any wobbling that could damage the valve or tire.
- Listen for Leaks: As you pump, listen for any hissing sounds that might indicate air escaping. If you hear any, stop pumping and check the connection.
- Don’t Overinflate: Always stay within the recommended PSI range. Overinflating can cause the tire to burst, which can be dangerous and damage your wheel.
- Body Positioning: For floor pumps, use both arms to operate the handle and keep your feet on the base for stability. For hand pumps, support the valve stem with one hand while pumping with the other to prevent valve damage.
- Smooth and Steady Motion: Use smooth, steady strokes to avoid jerking the valve or pump, which can cause air leaks or mechanical failure.
- Check Tire Pressure Regularly: Maintaining correct tire pressure reduces the risk of flats and improves riding efficiency.
Efficiency and Ergonomics: Floor pumps are generally more efficient for reaching high pressures, requiring fewer strokes than hand or frame pumps. Frame and mini-pumps are designed for portability but require more effort and time to inflate a tire fully. Proper stabilization of both the bike and the pump prevents accidents and ensures efficient air transfer.
Summary on How to Use a Bike Pump on a Bike Tire
All these are step-by-step instructions on how to use a bike pump. Checking your tires before every ride is a great practice that can save you from pumping every so often.
If you still can’t pump your tires after reading this, don’t worry it takes practice to master it.
Just keep on trying, but remember to handle your tires and valves with utmost care as not to destroy them accidentally.